
01
A two-minute triangle
You can learn the main GRASP rhythm with one figure.
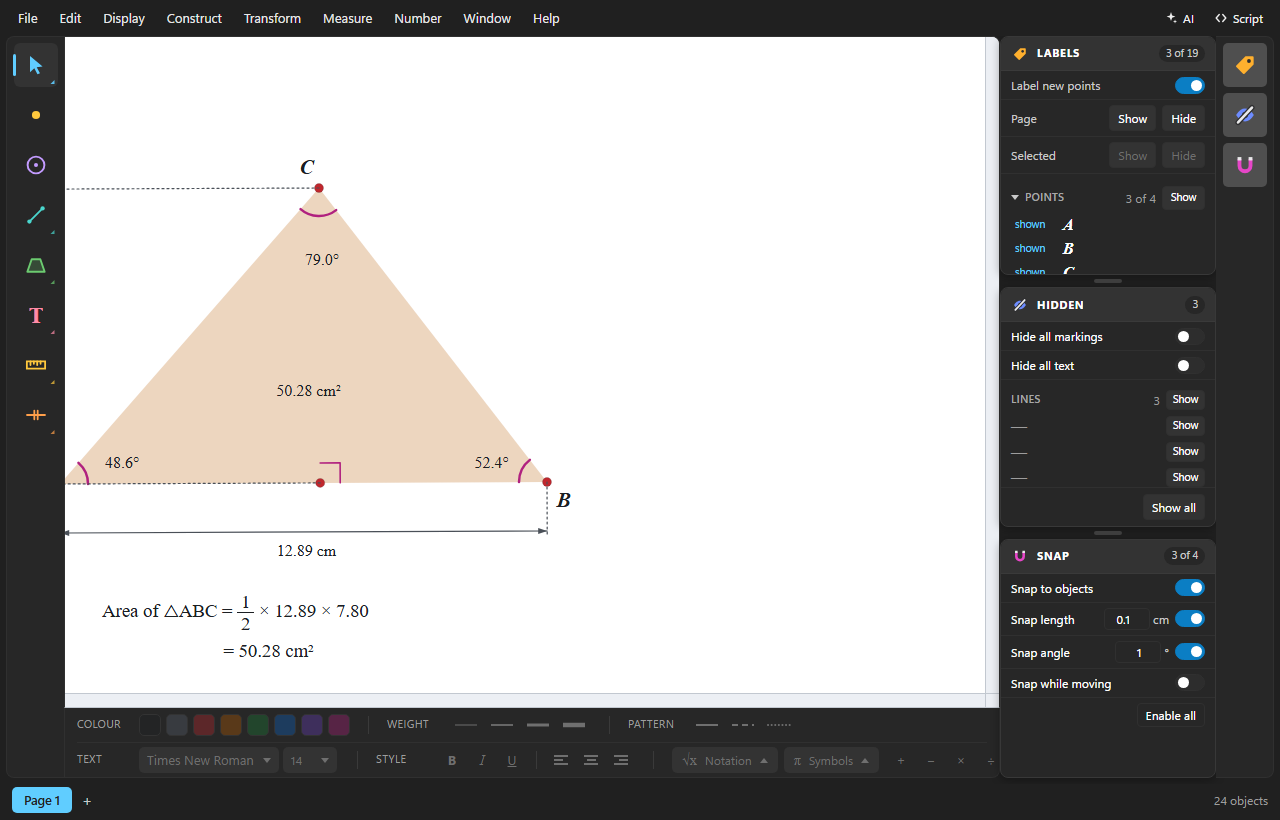
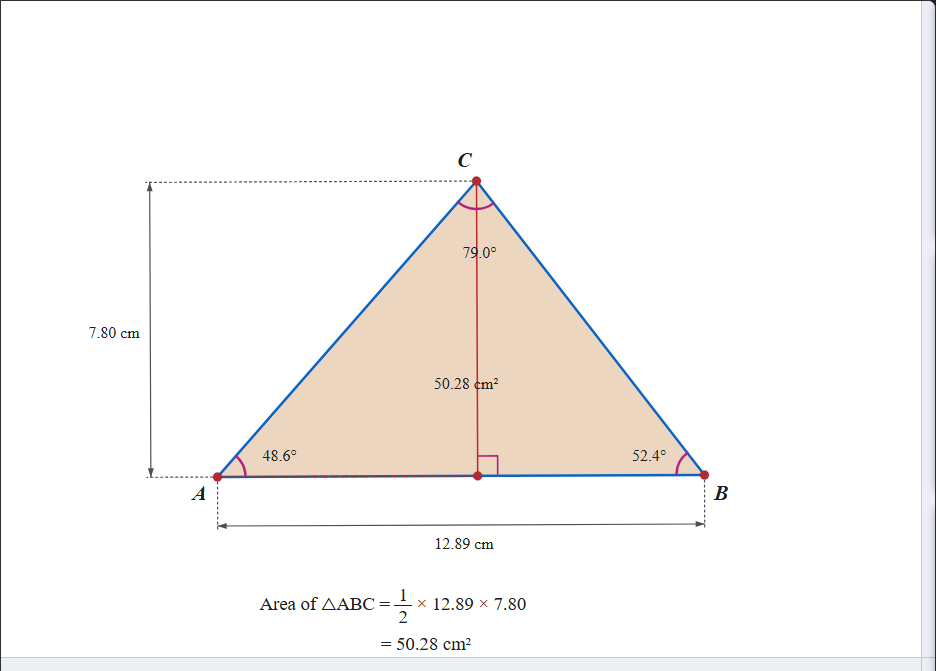
- Choose Polygon. It is the pentagon-shaped tool on the left. The default variant creates both the interior and its edges.
- Place three corners. Click three positions on the sheet, then click the first corner again. You can also double-click the final corner to close the shape.
- Measure it. Choose Measure, select Area, then click inside the triangle. Switch the Measure variant to Length and click an edge.
- Test the construction. Press A for Arrow and drag a corner. The figure and its measurements update together.
- Save your work. Press Ctrl + S. In a browser that cannot write back to a file, Save downloads a new copy.
02
The essential tools
Hover over a tool to see its name and shortcut. Tools with a corner marker have variants. Hover to choose one, or press and hold on a touch screen.

Arrow
Select, move, resize, and inspect. Use its variants when a crowded sketch makes one kind of object hard to pick.
Point
Click empty space for a free point. Click a path for a point that stays on it. Click a crossing for an intersection point.
Straightedge
Drag between two positions, or click the start and end. Its variants create a segment, ray, or full line.
Compass
Start at the center and finish at a point on the circle. Existing points can define either position.
Polygon
Click the corners in order and return to the first. Choose the regular-polygon variant for squares and other regular shapes.
Measure
Choose Length, Area, or Angle, then click or trace the geometry. Readings remain live as the figure changes.
Text
Drag a box on empty space and type a caption. Click geometry with Text to show or hide its label.
Marker
Add equal-side, parallel, or angle markings when a diagram needs to communicate its givens clearly.
03
Select and adjust
Select precisely
- Click an object to add or remove it from the selection.
- Drag across empty sheet to select several objects.
- Click empty sheet or press Esc to clear the selection.
- Use an Arrow variant such as Points, Paths, or Text when objects overlap.
Move what matters
- Drag a free point to change the construction.
- Drag a selected object or group to move what can move together.
- Drag labels and readings to put them where they are easy to read.
- Right-drag the sheet to pan. Use the zoom control in the lower corner to change scale.
If an object will not move independently, it is probably defined by another object. Move its parent point, or use Edit > Select Parents to find what controls it.
04
Measure and label
Measurements
Use the Measure tool for the common cases. Choose Length and click a segment, choose Area and click an interior, or choose Angle and drag from one arm to the other around their shared vertex. The direction you trace distinguishes a smaller angle from a reflex angle.
The Measure menu covers additional readings such as perimeter, circumference, radius, ratio, and point value. Select the required geometry first when a menu command is unavailable.
Labels and captions
With Text selected, click a point or other nameable object to toggle its label. Drag on empty sheet to create a caption. Double-click an existing caption with Arrow to edit it.
While editing a caption, click a measurement to insert its live value. It will keep updating with the sketch. Select captions, labels, or readings to format them with the palette.
05
Save, export, and print
Keep editing later
Use File > Save or Save As. A .grasp file preserves the construction, pages, labels, and measurements.
Use the figure elsewhere
Use File > Export Image to File. Select objects first to export only the selection, or clear the selection to export the page.
Make a worksheet
Use File > Page Setup, then Print Preview. Adjust the page before printing or saving to PDF with your system print dialog.
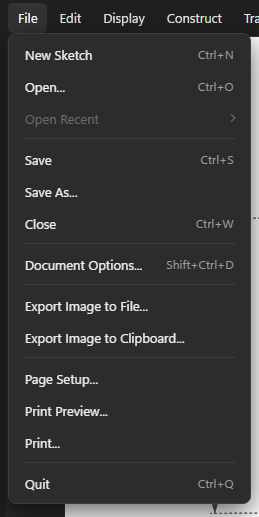
Browser note: file and clipboard options depend on browser support. If direct saving is unavailable, GRASP downloads a copy instead.
06
Get unstuck
- I cannot select the thing I want.
- Press A, then choose the Arrow variant for Points, Paths, Markings, or Text. Press Esc first if a different tool is halfway through a gesture.
- A menu item is greyed out.
- It needs a suitable selection. Select the point, path, interior, or reading the command should act on, then open the menu again.
- My line or circle will not finish.
- Click its second defining position. Esc cancels the unfinished construction and returns to Arrow.
- I moved something by accident.
- Use Edit > Undo or press Ctrl + Z. Redo is Ctrl + R.
- Labels or markings disappeared.
- Check Display > Show Labels and the visibility controls in the side panels. Display > Show All Hidden restores individually hidden objects.
- The sheet is hard to navigate.
- Right-drag to pan. Hold Space and drag for temporary panning. Use the zoom control to reset or change the view.
07
Useful shortcuts
That is enough to build most teaching diagrams. The menus expose more constructions, transformations, calculations, tables, and scripting when you need them.
Open GRASP and sketch